
Now that we’ve created our own 3D object, we can now upload it into Merge EDU and view it using the Object Viewer app!
Step 1: Uploading to Merge EDU
Click here to visit the Merge EDU site. Keep this page open too, so you can continue to read these instructions!
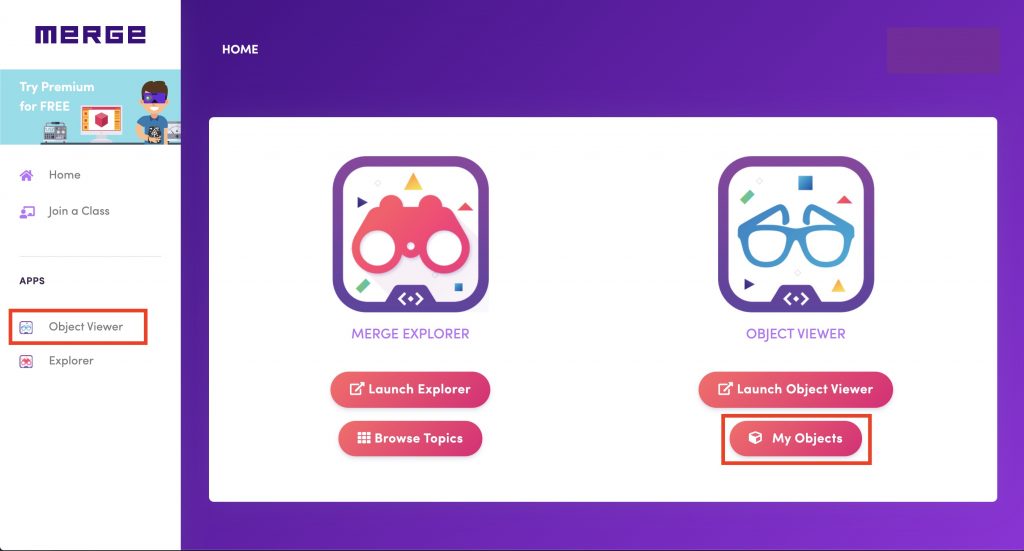
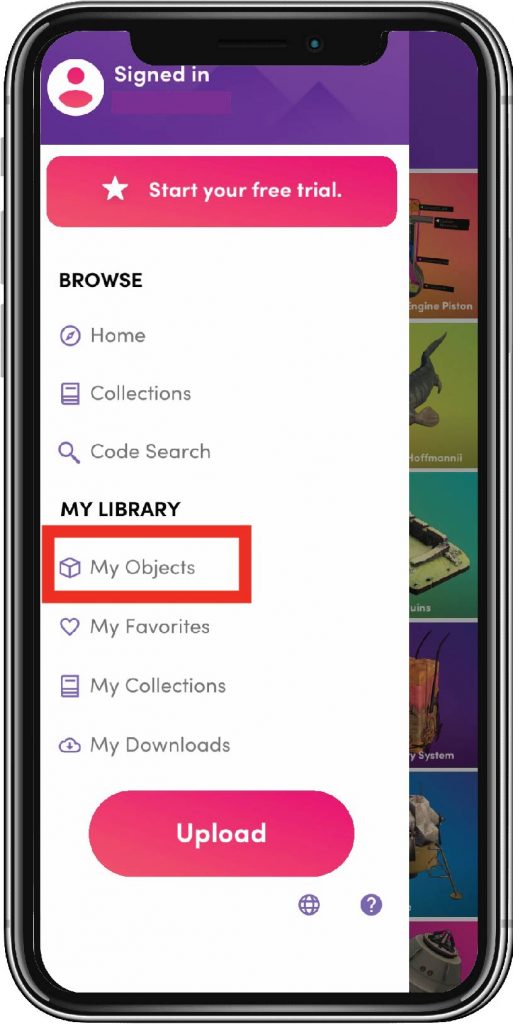
Once you see the screen below, click on Object Viewer or My Objects.
On the Object Viewer page, click on the Upload button.
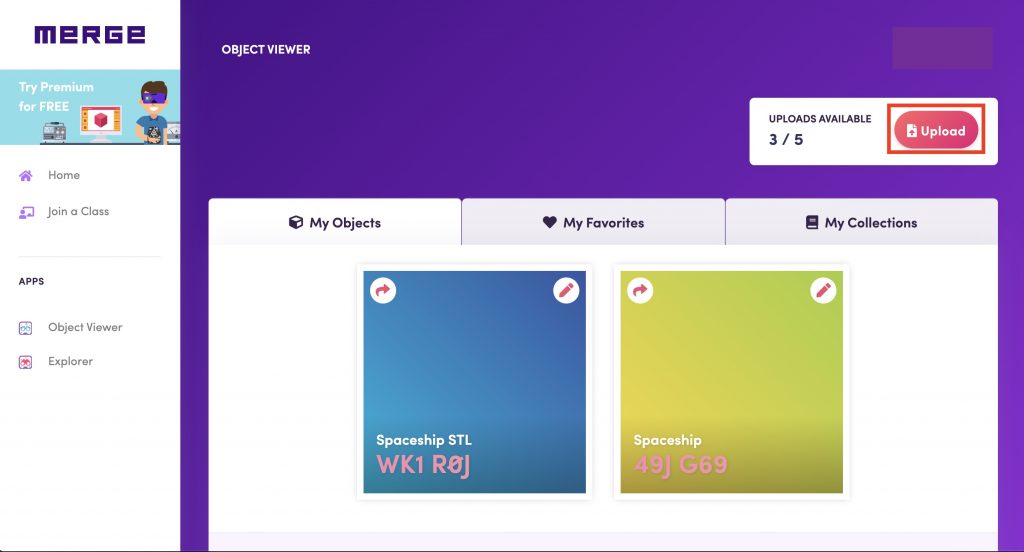
You’ll see this a pop-up asking you to select your 3D object file. Select the .zip file you downloaded earlier and it’ll upload. When it’s done, give it a nice name and description!
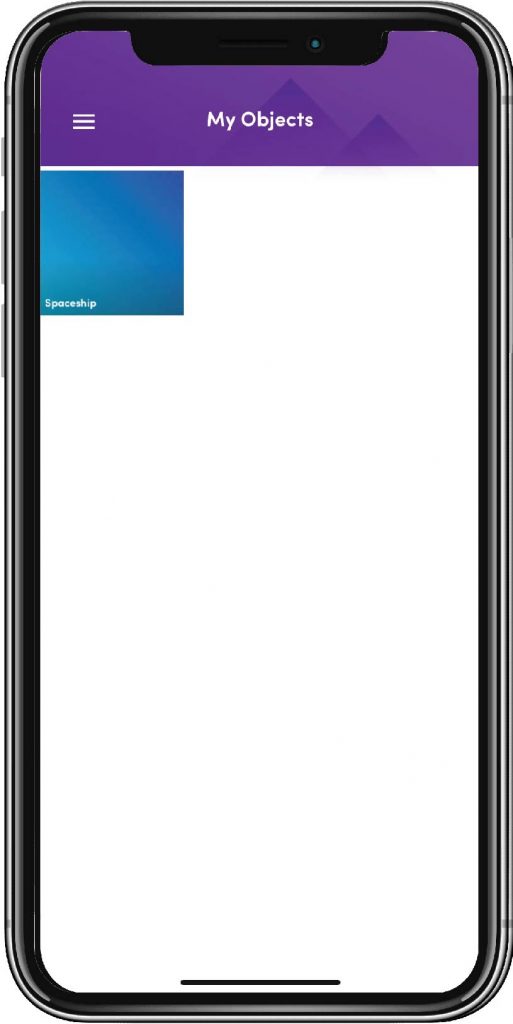
Once you click Save, your object should appear on your My Objects tab.
Step 2: Viewing your 3D hologram!
On your Object Viewer App, click on the three lines and then My Objects.
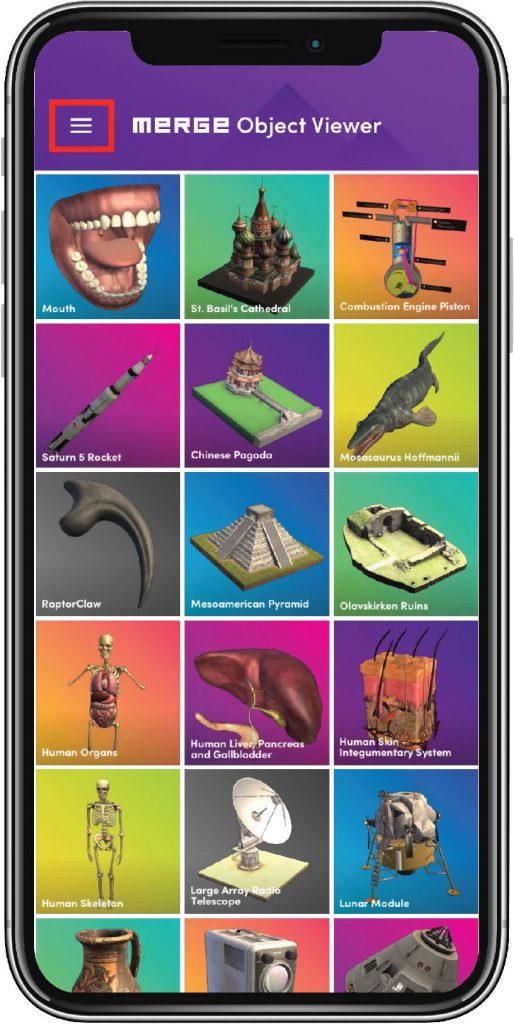
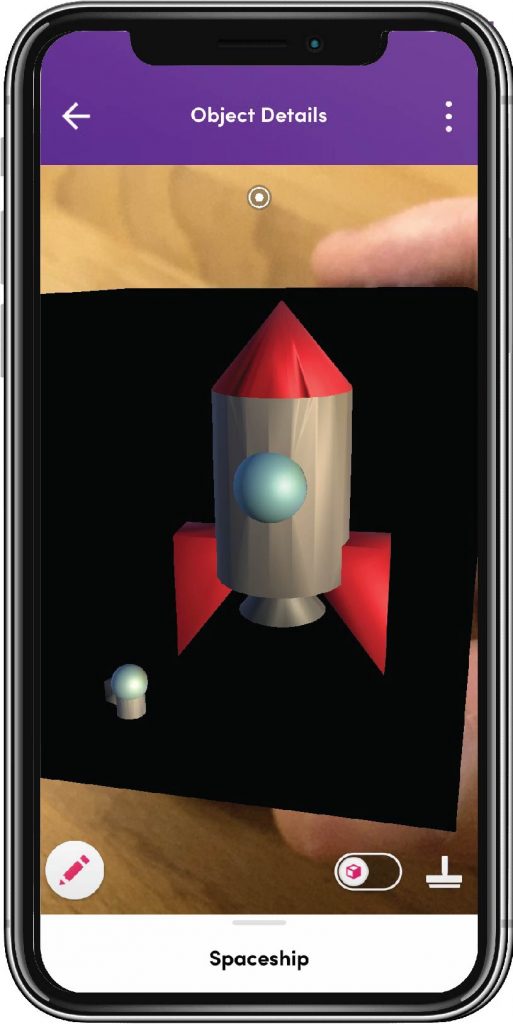
You should see your uploaded 3D object. Select it and you can see it on your Merge Cube! Good job!
Step 3: Sharing your holograms
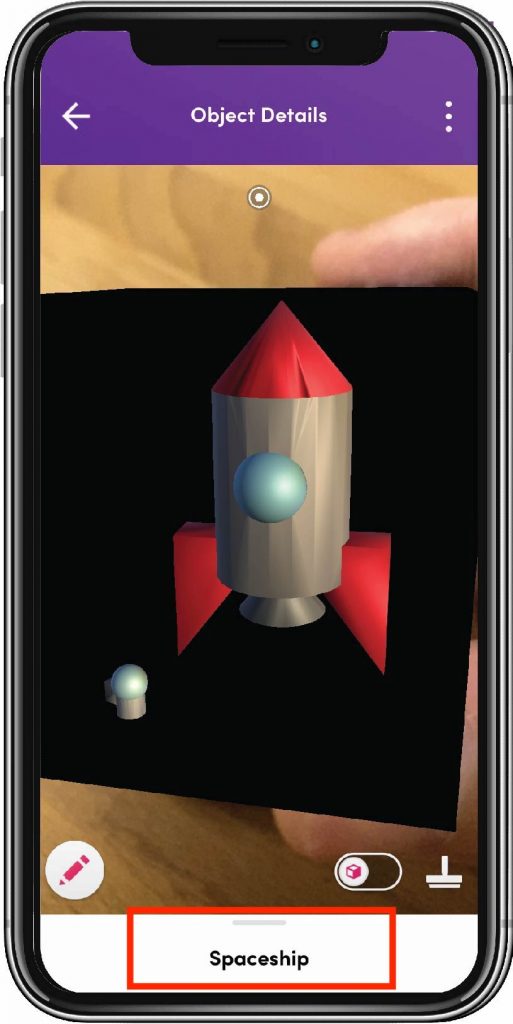
You can share your creations with your friends! Click on your Object and share the Object Code.
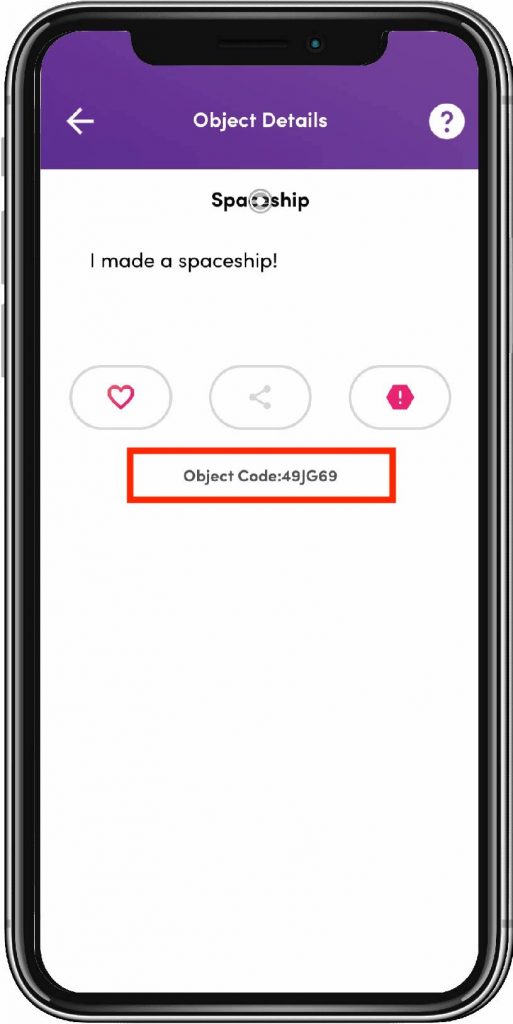
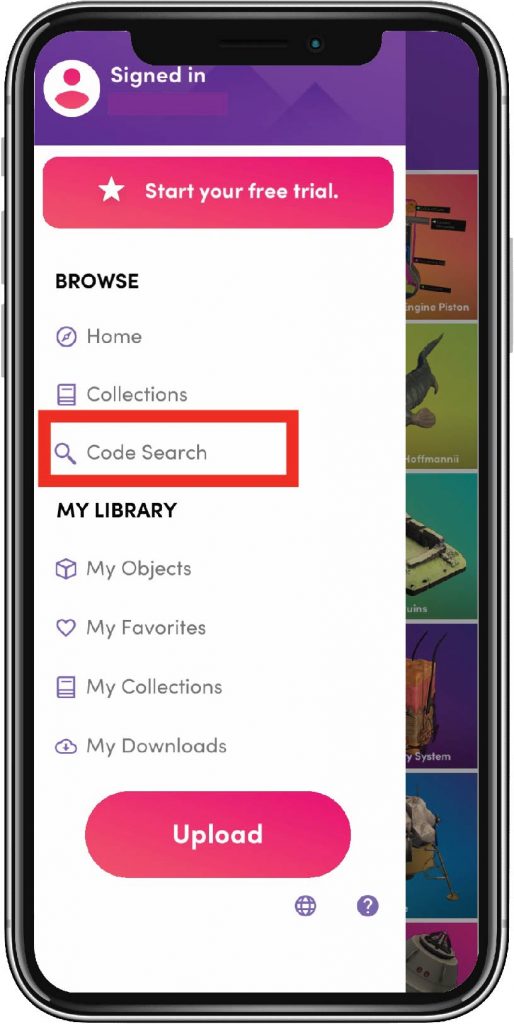
To view your friend’s Object, tap on Code search and enter the Object Code!
Congratulations! You have created a mixed reality hologram you can hold!
If you like, share your creations on social media like Twitter using the hashtag #STEAMnasium so the whole world can see them!